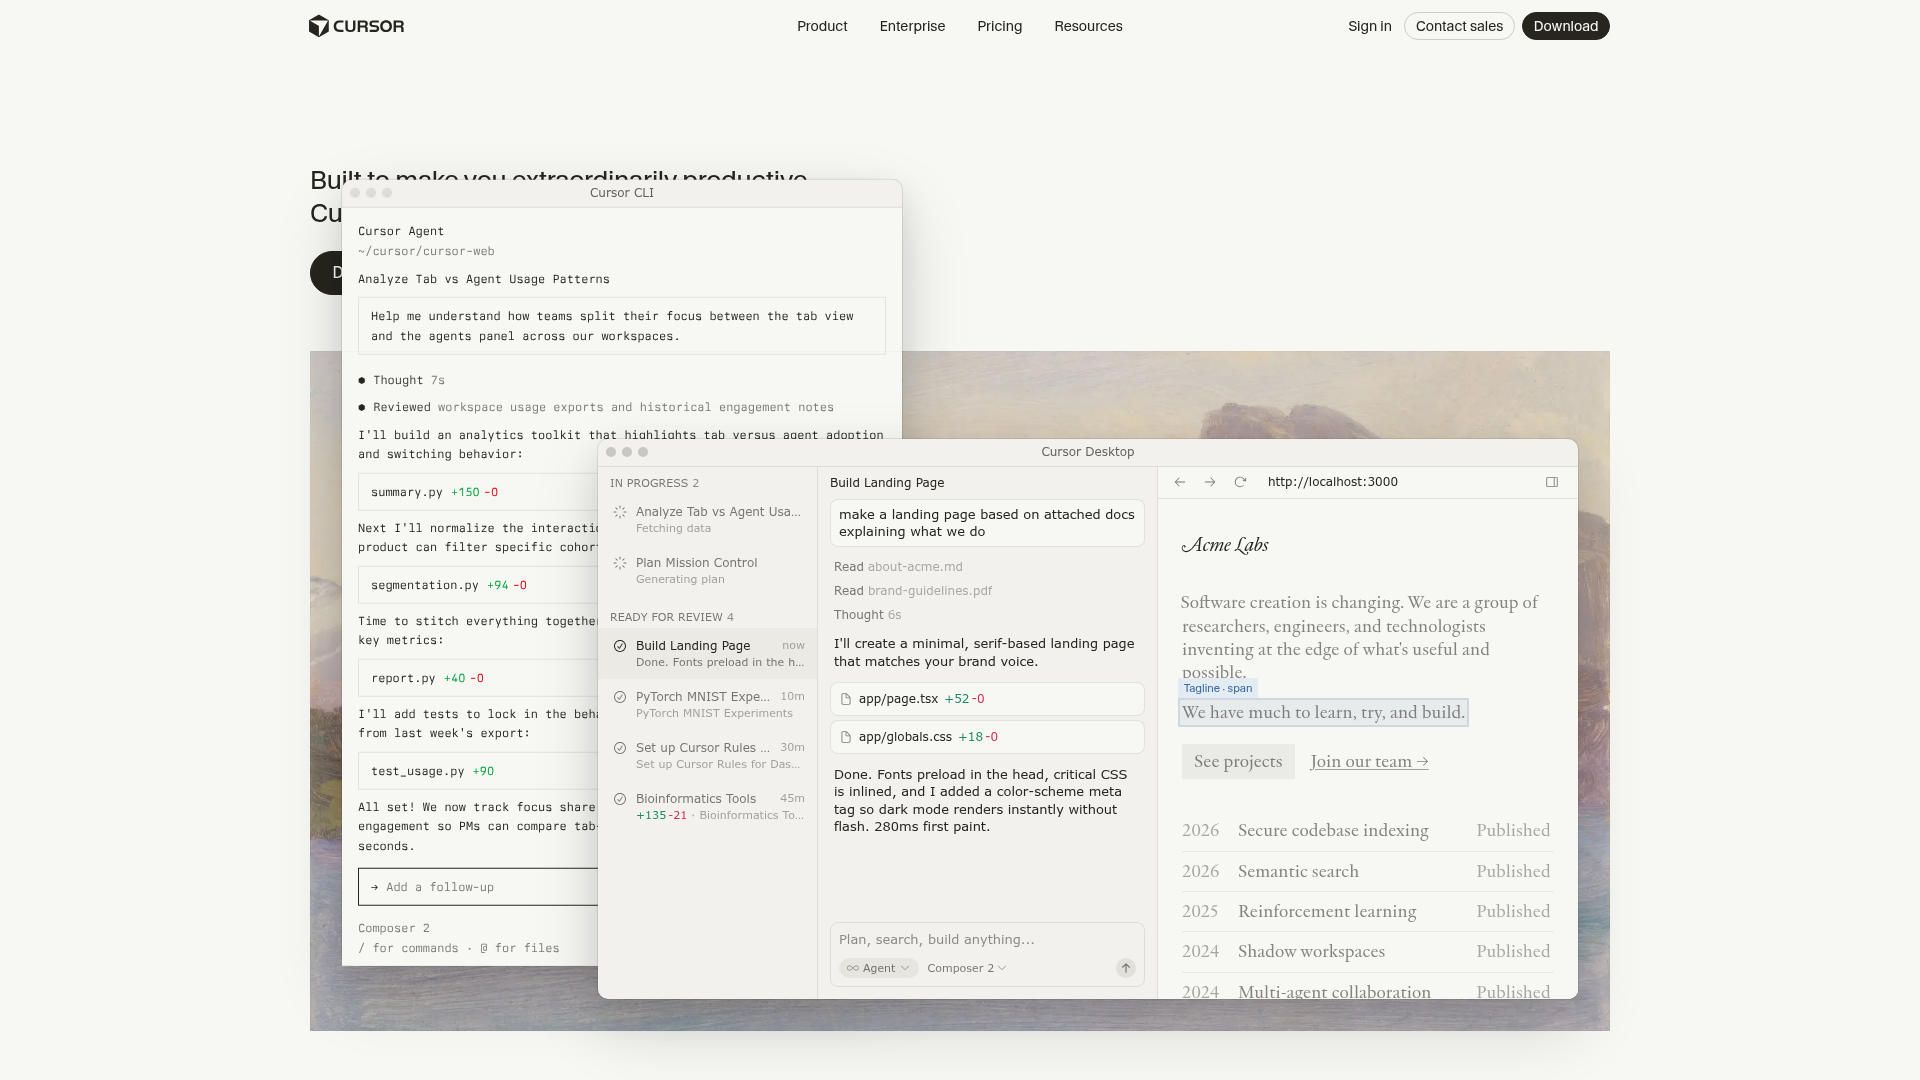
Run Your First AI-Powered Edit in Cursor
Install Cursor, open your first project, and make a real change with AI in under 10 minutes. No coding background required.
Cursor is easiest to understand once you make one real edit with it. This guide gets you from install to that first small change, using a project folder you can safely review.
- 01
Open project
File → Open Folder and pick a real workspace
- 02
Pick a file
Click any markdown or code file in the Explorer
- 03
Cmd + K
Type a plain-English instruction for the AI
- 04
Review diff
Accept or reject the proposed change
Download and install Cursor
Head to cursor.com and click Download in the top-right, or open the full downloads page to grab a specific build for your OS (Mac, Windows, or Linux, ARM and x64 versions available).
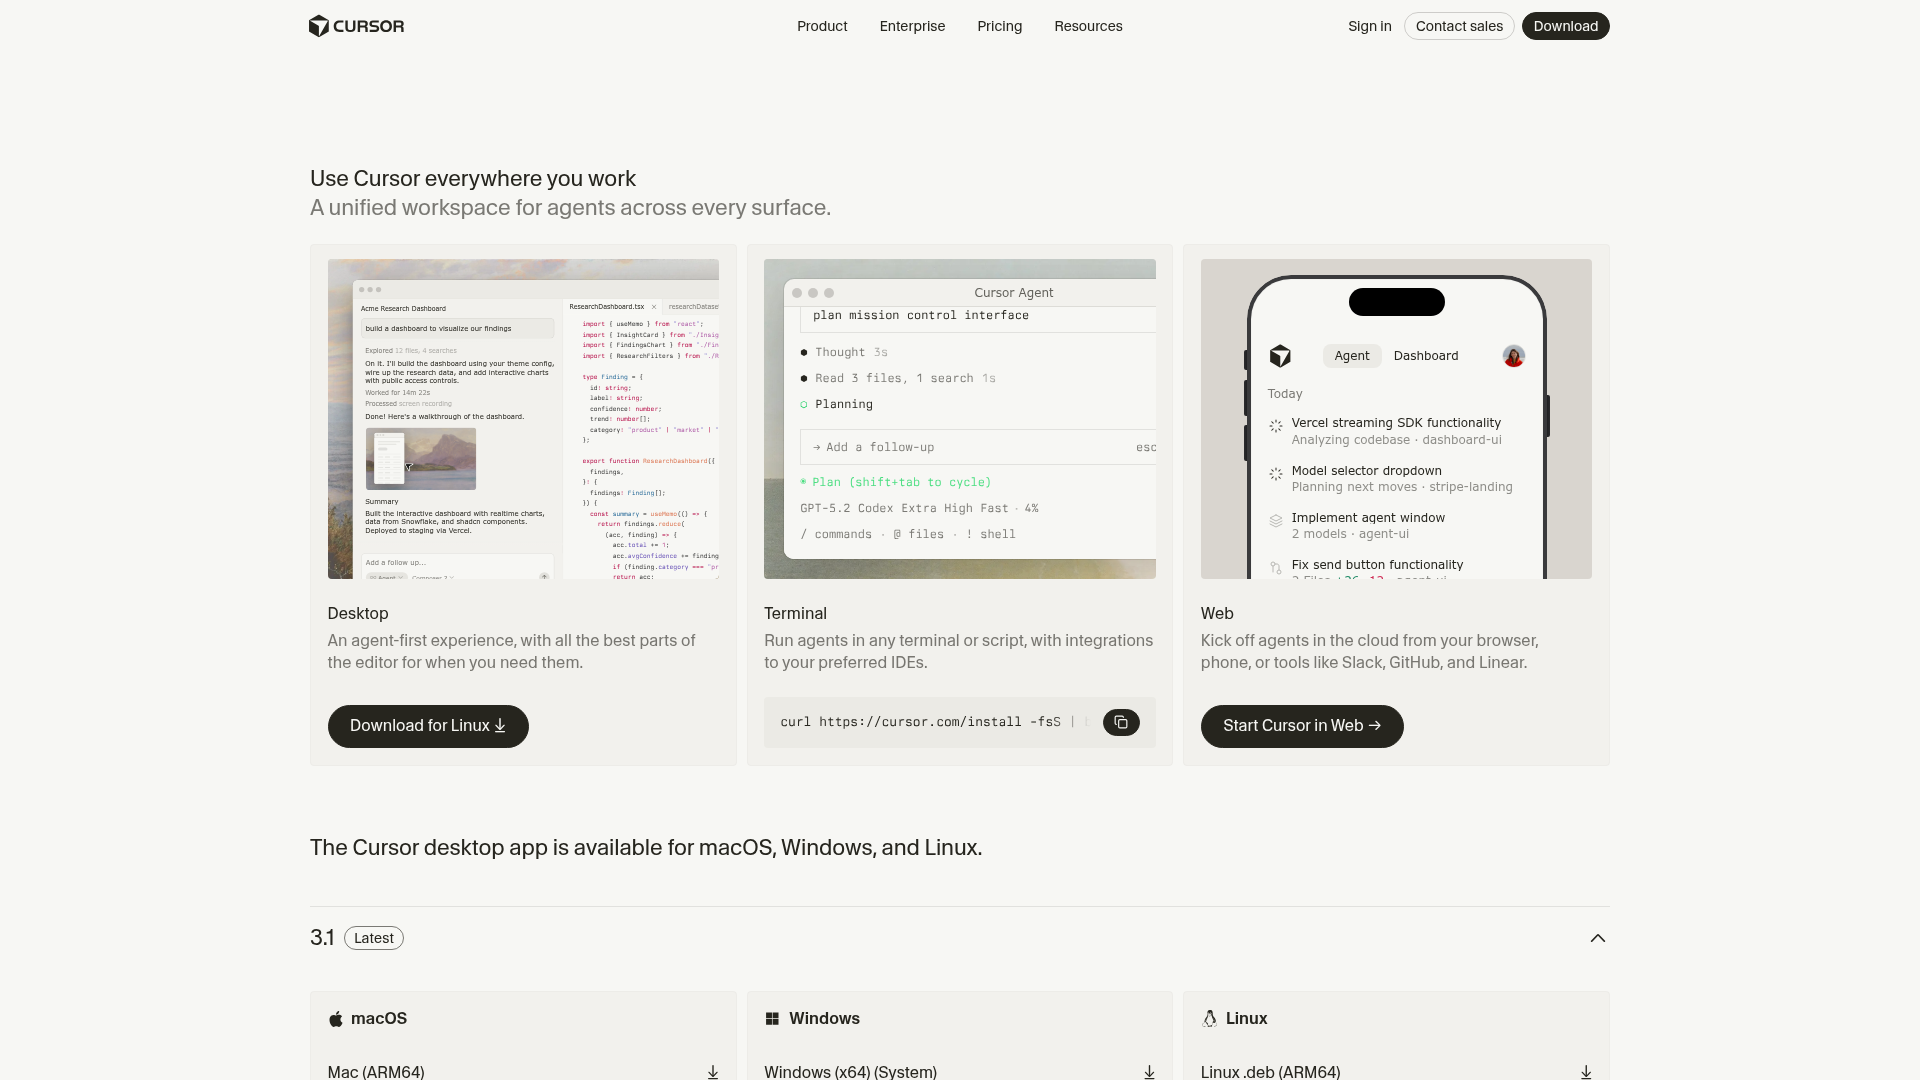
Run the installer and launch Cursor.
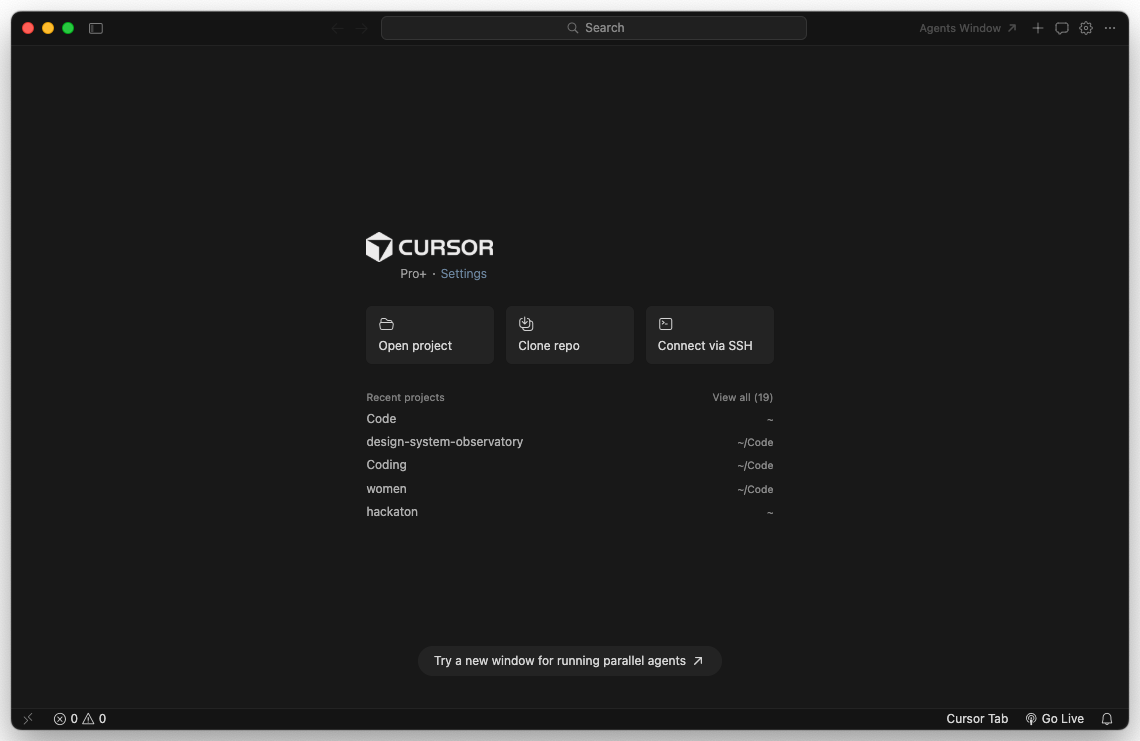
Set up your workspace
- Open Cursor.
- Select File -> Open Folder…
- Choose your project folder.
- Confirm files appear in the Explorer.
Navigate the editor
- Explorer (left): file browser
- Editor (center): edit content and code
- AI chat (right): AI-assisted instructions and edits
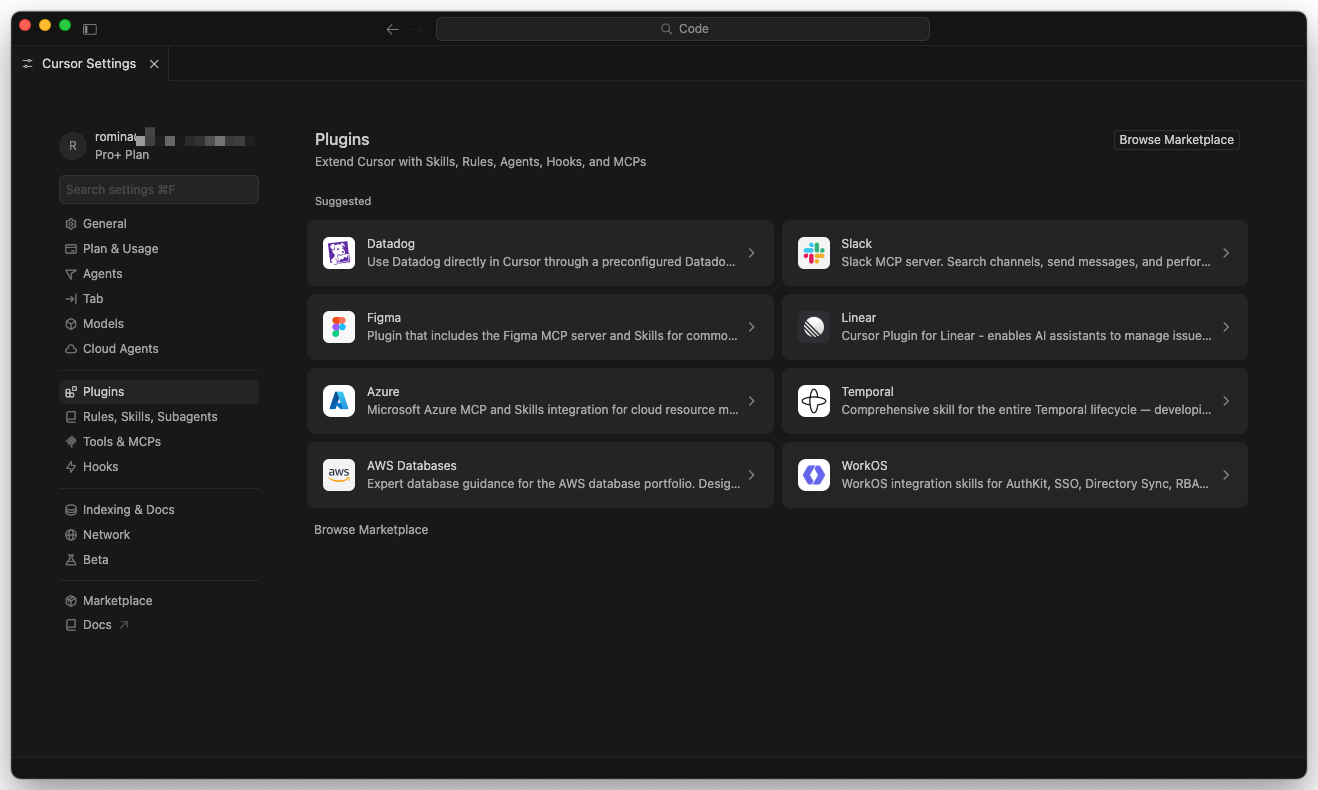
Find your settings
You’ll come back to Cursor’s settings often, to pick a model, manage extensions, and wire up MCP servers later. Open them with Cmd + , (Mac) or Ctrl + , (Windows/Linux).

Two tabs worth knowing from day one:
- Features → Extensions. Install language support, linters, Git tools, or the Claude Code extension.
- MCP & Integrations. Where Figma, Tidy, Playwright, and other MCP servers get added (covered in the Figma MCP guide).
Use multiple windows and extensions
Once Cursor is installed, treat it like a working editor, not a single chat box. Open one window for the project you are editing, and open a second window when you want to inspect another repo, compare generated output, or keep reference files separate from the main work.
Extensions matter too. Cursor inherits most of the VS Code extension ecosystem, so you can add language support, formatters, Git helpers, design-token tooling, or the Claude Code extension without changing your core workflow.
Use this setup when you want to:
- keep a design-system repo and product repo open side by side
- compare AI output against a reference implementation
- install the exact extensions your project needs
- avoid mixing unrelated files in one workspace
Edit a file
- Click a file in Explorer.
- Make changes in the editor.
- Save as needed (or rely on autosave).
Use AI commands
- Open the file you want to edit.
- Press
Cmd + K(macOS) orCtrl + K(Windows/Linux). - Give a direct instruction, such as:
Add a new section about accessibility checks for component documentation.- Review and accept the generated changes.
The three ways to ask Cursor for help
Cmd + K is one of three AI surfaces in Cursor. Knowing when to reach for each is the difference between fighting the tool and flowing with it.
- Tab (autocomplete). As you type, Cursor predicts the next edit and shows it in grey. Press
Tabto accept. This is the lowest-effort surface: no prompt, no panel. Good for finishing a line, repeating a pattern across rows, or renaming as you go. You do not trigger it, it is always on while you type. Cmd + K(inline edit). Select some text or place your cursor, pressCmd + K, and describe the change in plain English. Cursor edits that spot and shows a diff inline. Use it when you know exactly which lines should change: rewrite this paragraph, add a section here, fix this function.Cmd + L(chat and agent). Opens the chat panel on the right. Ask questions about the whole project, paste a screenshot, or hand it a multi-file task. In Agent mode it can read several files, make edits across them, and report back. Use it when the work is bigger than one spot: “audit every component for missing accessibility labels,” “explain how this token pipeline works.”
A simple rule: Tab finishes what you are already doing, Cmd + K changes one place you point at, and Cmd + L handles anything that spans the project.
Review every diff like a design review
The AI does not save your file until you accept the change. That accept step is not a formality, it is the whole safety model. Treat each diff the way you would treat a junior designer’s pull request:
- Read what is being removed, not just what is added. The red lines are where surprises hide.
- If the change is bigger than you expected, reject it and ask again with a narrower instruction. A runaway edit usually means the prompt was too broad.
- Accept in small pieces. Several scoped edits you understand beat one large diff you skim and hope is right.
This habit is what lets you move fast without breaking your own files. The speed comes from the AI. The safety comes from you reading the diff.
Install Cursor and run your first AI edit
-
Download Cursor and open a real project folder
Go to cursor.com/downloads and grab the build for your OS. Run the installer. Launch Cursor. Use File -> Open Folder… to open a project you already have (a Figma export, a docs site, a design system repo). Confirm the Explorer shows your files.
- Cursor opens without errors on your machine
- Your project files appear in the Explorer sidebar
- Cursor offers to import your VS Code settings and you know whether you want that
-
Run one AI edit on a real file
Open any markdown or code file. Press
Cmd + K(macOS) orCtrl + K(Windows/Linux). Type a specific instruction, for example: “Add an accessibility checklist section with keyboard navigation, color contrast, and screen reader labels.” Read the diff. Accept or reject. Notice that the edit is scoped to the current file, not the whole project.- The inline diff shows the proposed change in context
- You feel comfortable accepting or rejecting before it touches disk
- A follow-up edit in the same file produces a second diff without losing the first
Finished this lesson?
Mark it complete to track your progress through "AI Design Starter Path".
The guides alone saved me a full day of work every sprint.
- All guides, prompts, and templates
- Starter kits and templates
- New content every week
- Priority support