Official Release from Figma
Guide to the Dev Mode MCP Server
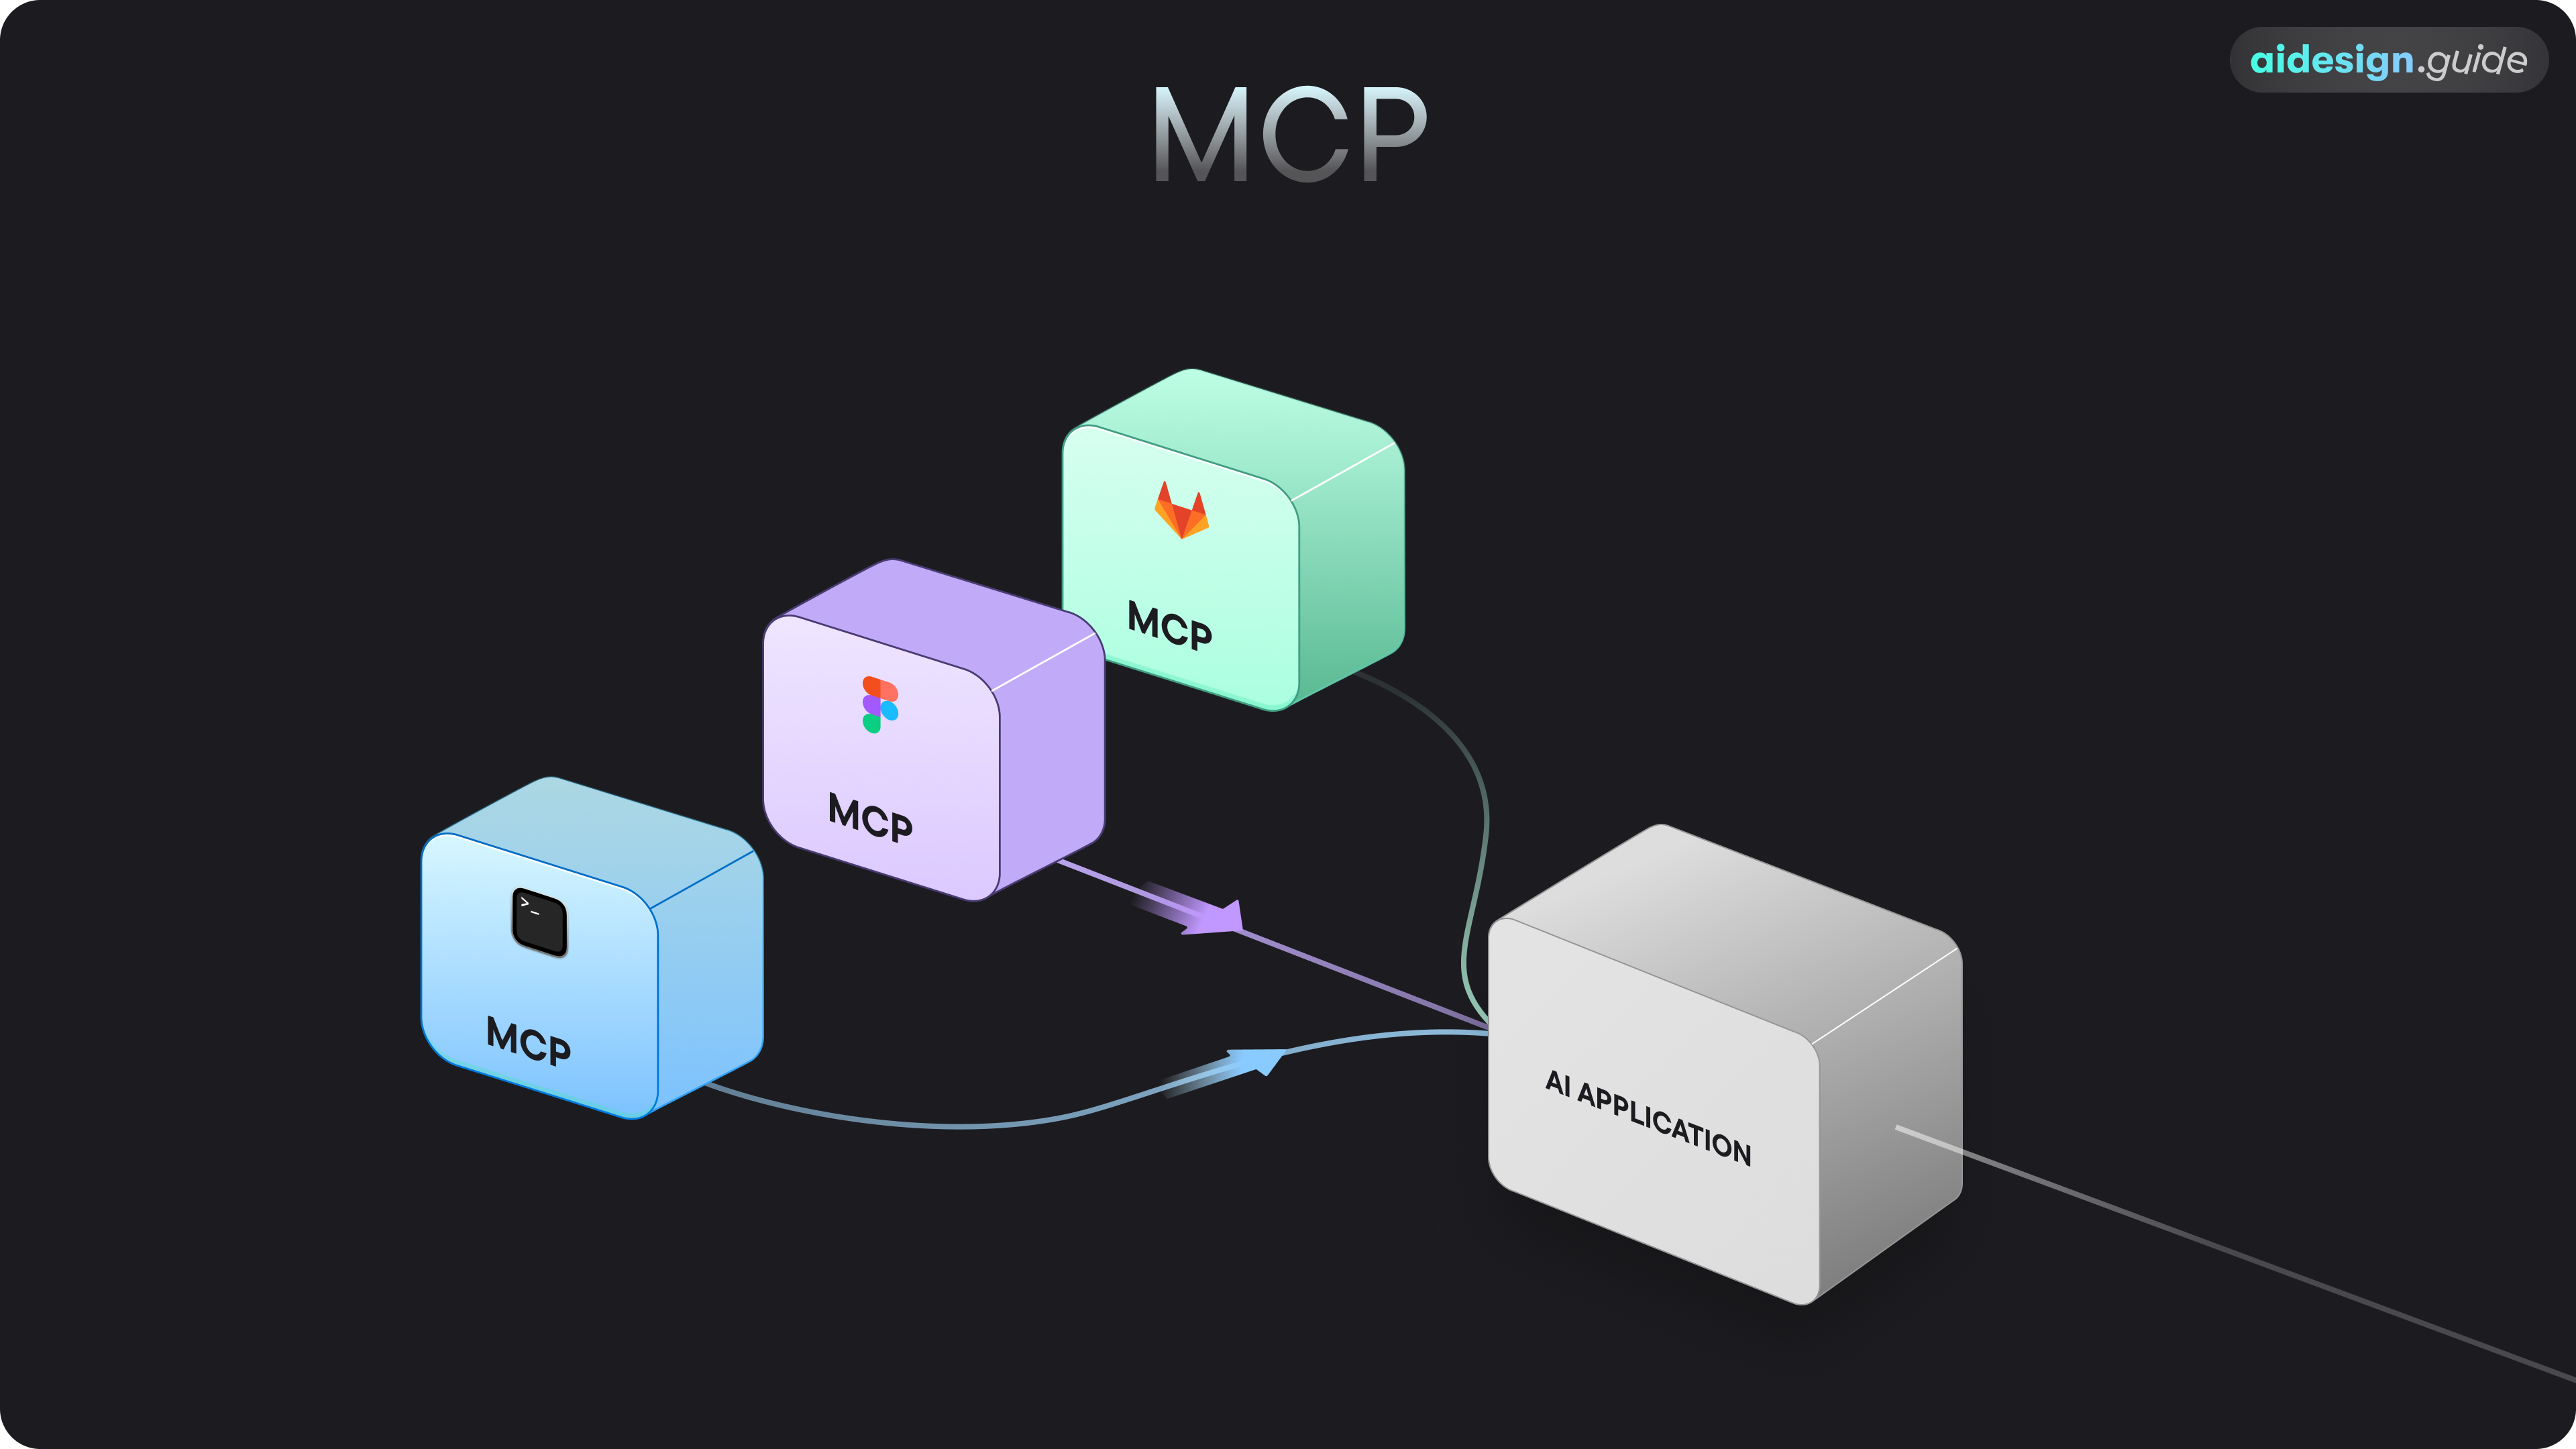
What is MCP?
Why MCP Matters for Designers
For designers, MCP bridges the gap between design and development more effectively than ever before. Here are some of the key benefits:- Higher-Fidelity Code: By understanding the full context of your designs, AI tools can generate code that accurately reflects your design system’s variables, components, and styles.
- Faster Handoffs: Developers can work more efficiently when the AI can directly interpret design files, reducing the need for manual specification and redlining.
- Improved Collaboration: When AI can speak the language of both design and code, it becomes a much more powerful collaborator in the product development process.
Who can use Figma MCP
The Dev Mode MCP Server is in open beta.Available on a Dev or Full seat on the Professional, Organization, or Enterprise plans.You must use a code editor or application that supports MCP Servers (i.e. VS Code, Cursor, Windsurf, Claude Code).You can only use the Dev Mode MCP server from the Figma desktop app. Download the Figma desktop app →
What you need
To connect to Figma’s MCP server, you’ll need a code editor or application that supports MCP clients. Here are some of the popular options:- Windsurf
- Claude Code
- VS Code
- Cursor
Other Editors
Other code editors and tools that support SSE (Server-Sent Events) can also connect to the Dev Mode MCP server. If you’re using a different editor or tool, check its documentation to confirm it supports SSE-based communication. If it does, you can manually add the Dev Mode MCP server using this configuration.How to Install the Figma MCP Server
1
Enable the MCP Server in Figma
To get started, you need to enable the MCP server from the Figma desktop app.
- Open the Figma desktop app and ensure it’s updated to the latest version.
- Open any Figma Design file.
- In the top-left menu, navigate to Preferences and select Enable Dev Mode MCP Server.
http://127.0.0.1:3845/sse.2
Set up your MCP Client
Once the server is running, you can connect your MCP client. Below are the instructions for popular editors.
Cursor
Cursor
- Open Cursor → Settings → Cursor Settings.
- Go to the MCP tab.
- Click + Add new global MCP server.
- Enter the following configuration and save:
Claude Code
Claude Code
[Instructions for Claude Code will go here]
VS Code
VS Code
- Go to Code → Settings → Settings (or use
⌘ ,). - Search for “MCP” and select Edit in settings.json.
- Add the Figma Dev Mode MCP configuration to your servers:
- Open the chat toolbar (
⌥⌘Bor⌃⌘I) and switch to Agent mode. - Open the selection tool menu and look for a section labeled:
MCP Server: Figma Dev Mode MCP.
Other Editors (SSE)
Other Editors (SSE)
If you’re using a different editor that supports SSE (Server-Sent Events), you can manually add the Dev Mode MCP server using this configuration:Check your editor’s documentation for the specific steps to add an SSE-compatible MCP server.
3
Prompting Your MCP Client
Once connected, you can prompt your client to access a design node in two ways:
- Selection-based: Select a frame or layer in the Figma desktop app and prompt your client to implement it.
- Link-based: Copy the link to a frame or layer and ask your client to implement the design from the URL.
Best Practices
To get the best results from the MCP server, follow these best practices. Structure your Figma file:- Use components for anything reused.
- Link components to your codebase via Code Connect for the most consistent results.
- Use variables or design tokens for spacing, color, radius, and typography.
- Name layers semantically (e.g.,
CardContainerinstead ofGroup 5). - Use Auto layout to communicate responsive intent.
- Use annotations to convey behavior that isn’t visible.
Write Effective Prompts
Clear prompts lead to better results. Be specific about your needs:- “Generate iOS SwiftUI code from this frame.”
- “Use Chakra UI for this layout.”
- “Add this to
src/components/marketing/PricingCard.tsx.”
Prompting for Designers Guide
For more detailed examples and a comprehensive list of prompts, check out our guide to prompting for designers.
Helpful links
Official Figma MCP Documentation
Read the official guide from Figma for detailed instructions and information.